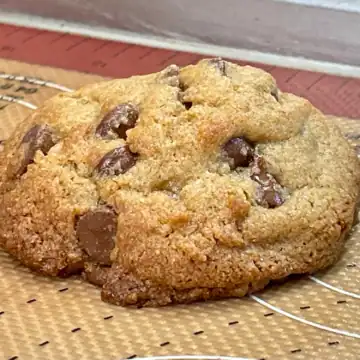
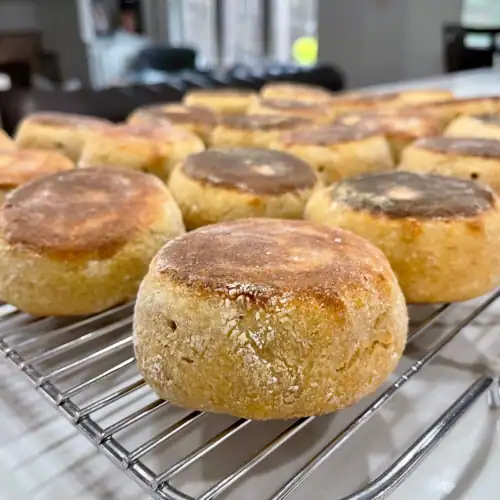
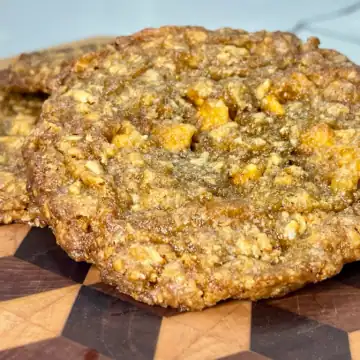
Golden, chewy, and loaded with cozy flavor – these Oatmeal Scotchies are everything you love about a classic oatmeal cookie with a rich butterscotch twist.
Hearty fresh-flaked oat groats and fresh-milled flour give them that perfectly satisfying texture, while melty butterscotch chips add warm, caramel-like sweetness in every bite. The edges bake up slightly crisp with a soft,chewy center that stays tender and delicious.
Comforting, nostalgic, and just the right amount of indulgent – these are the kind of cookies that disappear fast and make the whole kitchen smell like home.
Fresh-Milled Flour Oatmeal Scotchies with Fresh-Flaked Oats
Golden, chewy, and loaded with heavenly goodness – these Oatmeal Scotchies are everything you love about a classic cookie with a rich butterscotch twist.
Equipment
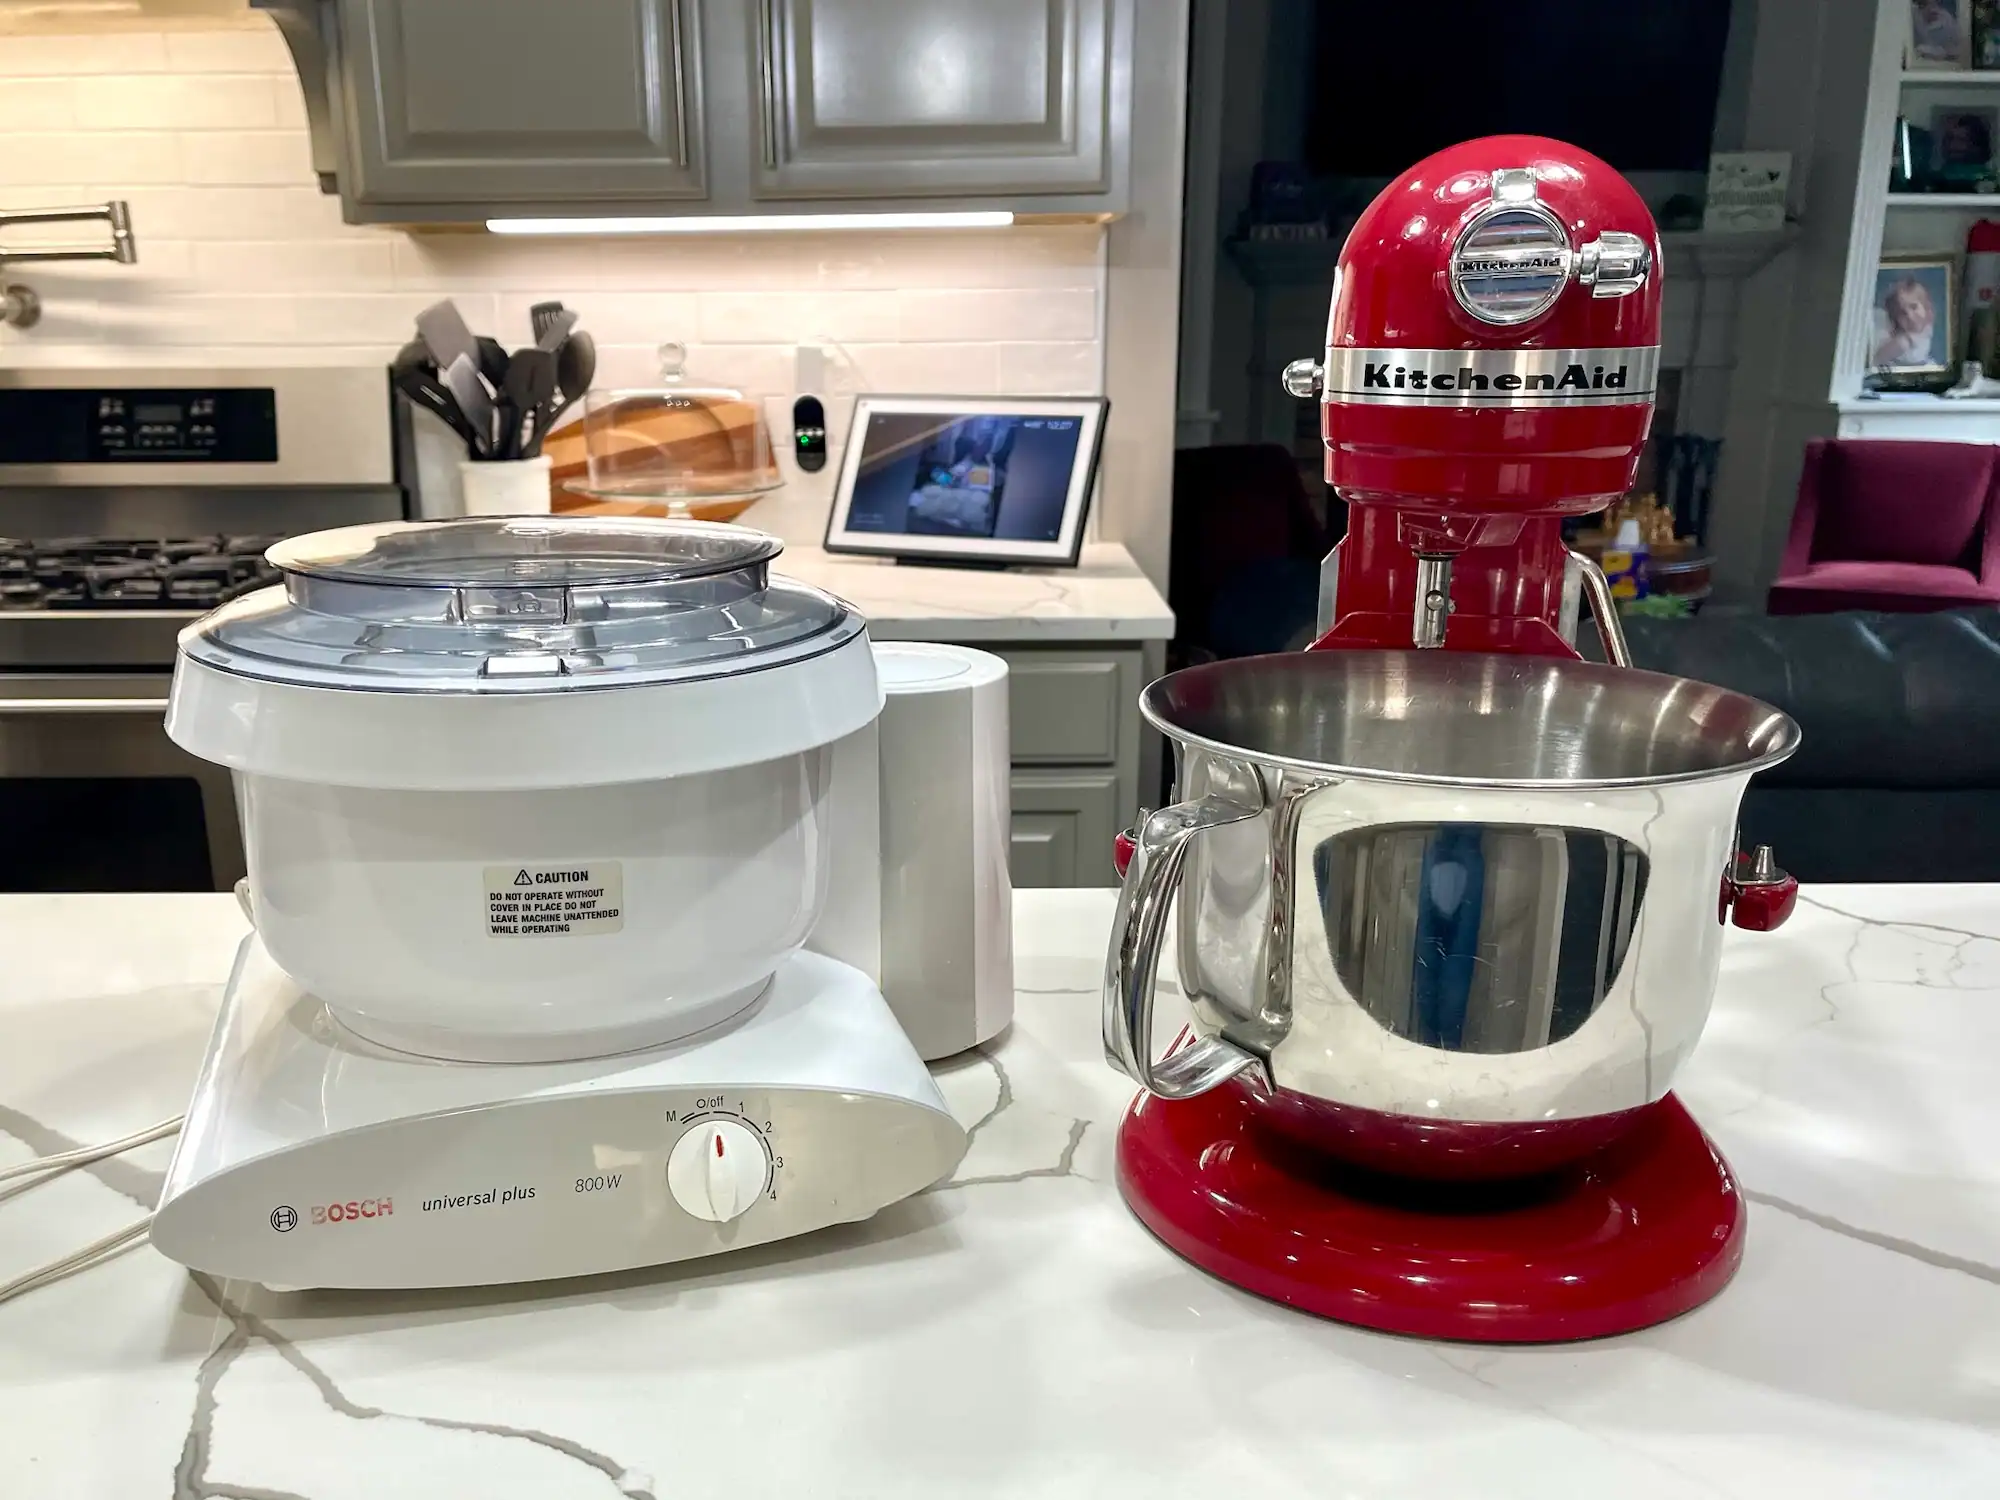
- 1 Mixer
- 1 Spatula
- 1 Cookie Scoop (I used a 3 tablespoon size scoop)
Ingredients
- 2 sticks Unsalted butter (1 c)
- ¾ c Sugar
- ¾ c Brown Sugar
- 2 Eggs
- 1 teaspoon Vanilla
- ½ teaspoon Salt
- ½ teaspoon Cinnamon
- 1 teaspoon Baking Soda
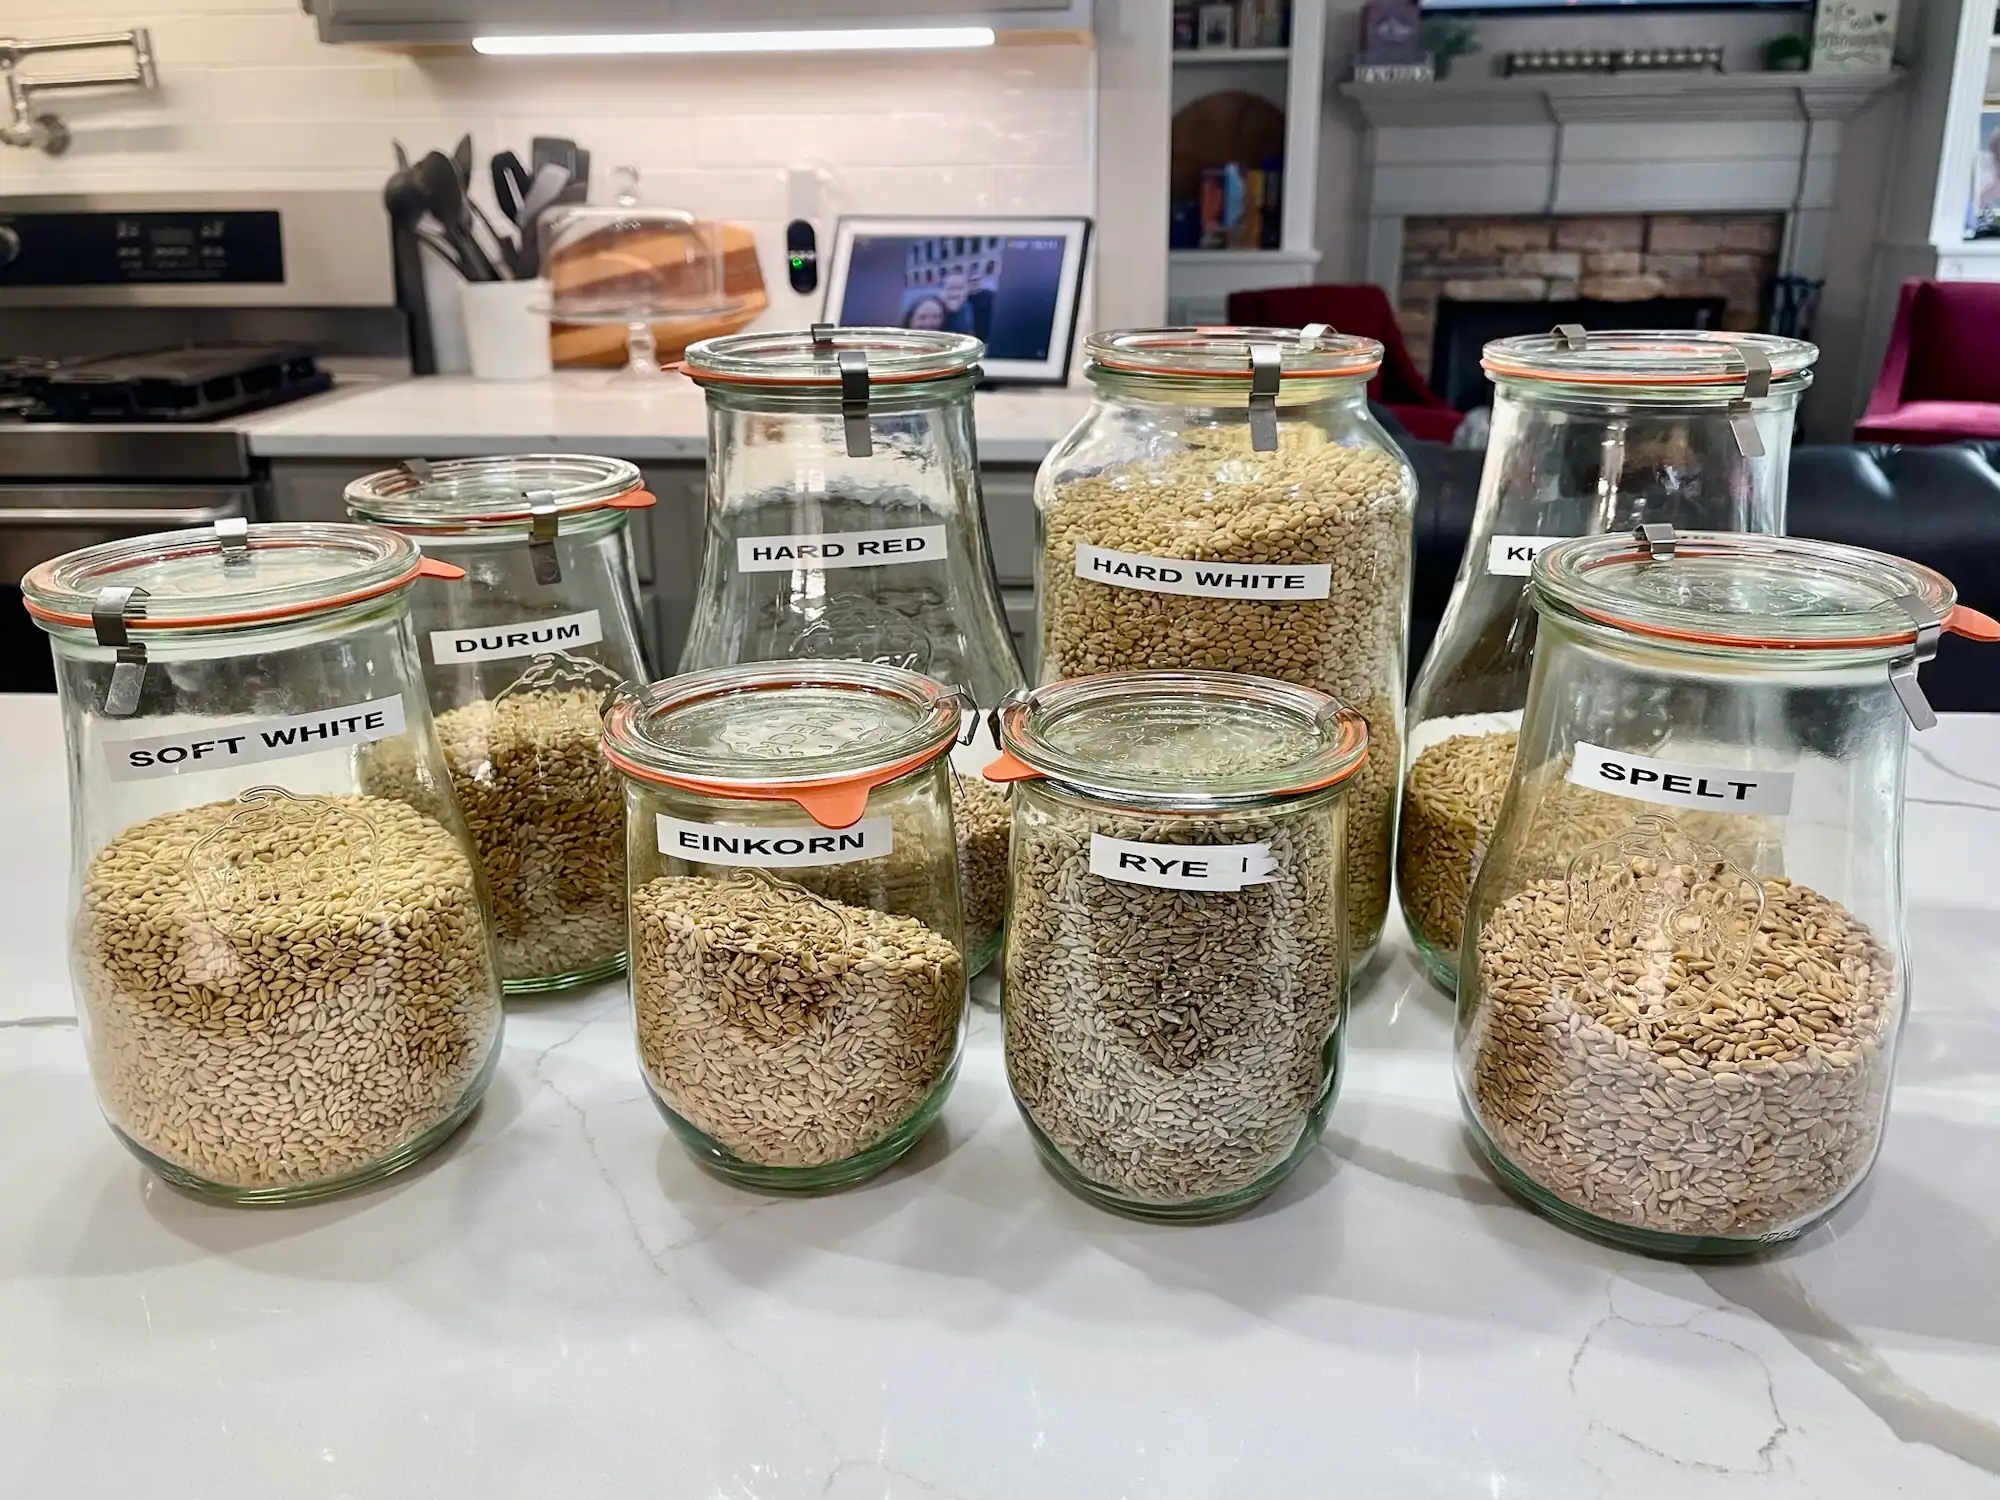
- 194 g Soft White Wheat Berries (or 1 ¼ c all purpose flour)
- 269 g Flaked Oat Groats (or 3 c Oats)
- 1 12 oz package of butterscotch chips
Instructions
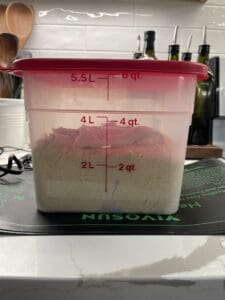
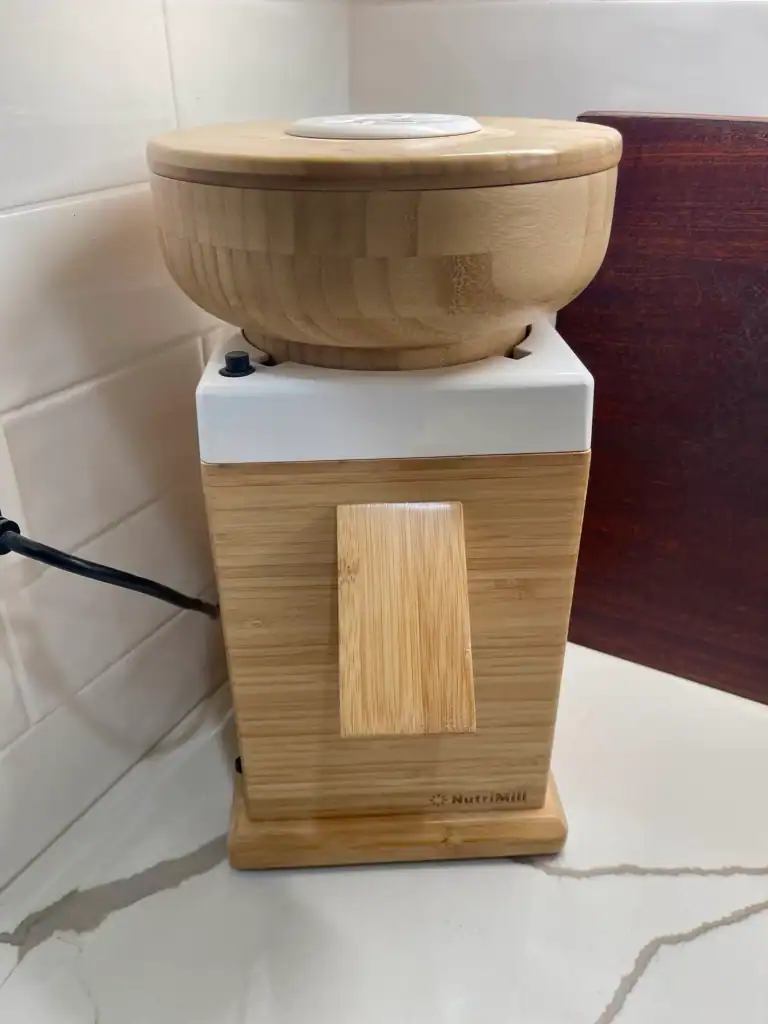
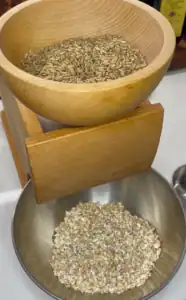
MILL/FLAKE:
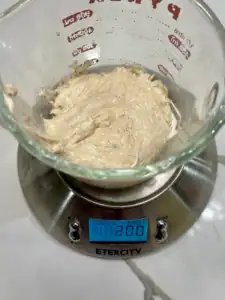
- Mill your soft white wheat berries into a fine flour and set aside.

- Flake your oat groats and set aside.
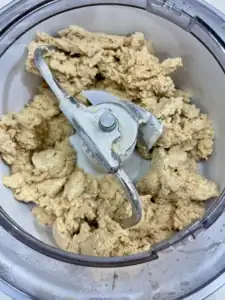
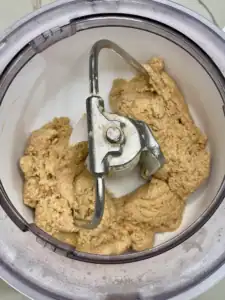
MIX COOKIE DOUGH:
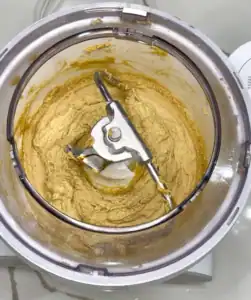
- Cream together the butter and sugars in the mixer.

- Add 2 eggs and vanilla to the mixer and mix until the light and fluffy.
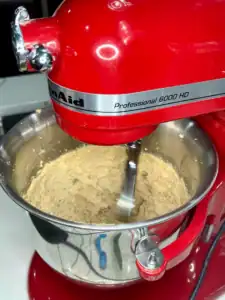
- Add the salt, cinnamon, and baking soda to your mixer and mix until incorporated.
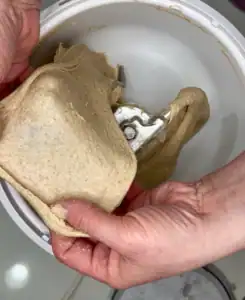
- Add your fresh-milled flour and fresh-flaked oats to the mixture and stir until combined.
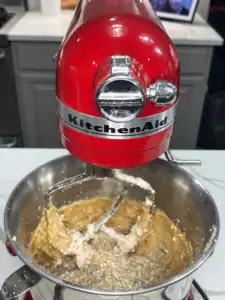
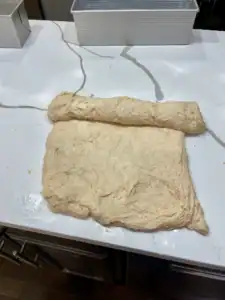
- Add your butterscotch chips and mix them in by hand with a spatula.

- Scoop the dough into dough balls. If you are going to bake immediately, preheat your oven to 375 degrees Fahrenheit and allow the cookies to sit on the counter for at least 15 minutes. This will allow the fresh-milled flour to absorb liquids. You can also scoop these and freeze them to bake later when you want to be able to have these warm whenever you want them.

BAKE:
- Bake the cookies on a cookie sheet with parchment paper at 375 degrees Fahrenheit for 10-11 minutes. The cookies will be very soft and gooey when they come out of the oven, but will set up as they cool.

Tried this recipe?Let us know how it was!